The other day (coincidentally, on Pi Day) I posted on Mastodon about picking up some new Raspberry Pi and accessories for a couple of new projects.
Well, this is the first one! I’ve constructed an e-ink picture frame.
Over on YouTube, AKZ Dev has recently posted a few videos about the hardware I’m using: a 7.3″ e-ink display from Pimoroni called the Inky Impression.
He’s also been writing some python software to power it, and while I’m sure what he’s created is great the point of this project for me is as a learning exercise, so I’ll be writing my own code.
Hardware
First of all though, I had to assemble the hardware. This is pretty straight-forward:
- The Inky Impression display
- A Raspberry Pi Zero 2W, with headers
- An SD card and micro-USB cable I already had lying around
- A case for the Pi that I 3D printed
- A frame for the display that I 3D printed, including a modified rear panel to give it some legs and make it free-standing.
I may still get a wooden picture frame to put this in for better aesthetics, but for now my 3D printed version is working great. You put the Pi into its 3D printed case, the display into its 3D printed case, and then you plug them together and give it some power. Done!
I wish that the colours on the display were a little more vibrant than they are (this aspect of the display is not quite as good as I was expecting it to be) and I wish it updated a little more quickly (this is exactly as I expected it to be, and it takes about 30 seconds), but on the whole I like this e-ink display much more than I like backlit LCD photo frames.
Software
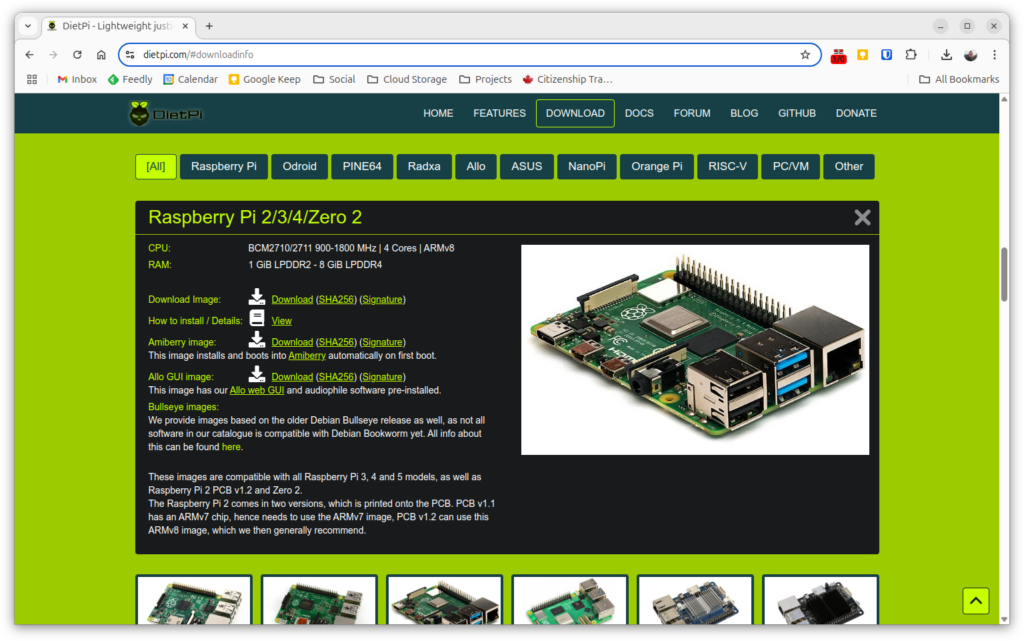
I downloaded my new favourite OS for the Raspberry Pi, DietPi, as a base and let it guide me through the setup process to connect to WiFi, set the timezone, the usual stuff. A couple of particular options to pay attention to during setup were to enable I2C and SPI, which is how the Pi communicates with the screen through the GPIO header, and install a NodeJS environment which I did simply by selecting it from the DietPi software installer.
Pimoroni suggests Python as the language to use and offers a Python library for that purpose, but I have limited experience in Python and I’m much more comfortable with Node, so that’s what I’m going to use if I can.
As a proof of concept, I wrote a half-dozen lines of code that take an input image, resize and crop it to fit the display, and render it on the screen. I’m using the sharp library for the image manipulation, and the inky library from aeroniemi to interact with the display.
const sharp = require('sharp')
const inky = require('@aeroniemi/inky')
const frame = new inky.Impression73()
sharp('../img/OriginalImage.jpg')
  .resize(800, 480)
  .toFile('output.png', (err, info) => {
	frame.display_png('output.png')
	frame.show()
})
So far this is working great. I obviously plan to extend this, and I’ll make the eventual code available if anyone else wants to replicate what I’ve done. Features I’m currently thinking about are:
- Connect to a specific album in my Google Photos account
- Rotate through the images in the album, updating every five minutes or so
- Ability to skip forward and back using the buttons on the side of the display, maybe
- Ability to skip forward and back by issuing a command over MQTT (of course I’m integrating this thing with Home Assistant)
- Ability to display some specific content (other than the usual album) based on an MQTT command or button press… what I’m thinking of here is my WiFi username and password that I can interrupt the slideshow to display for guests along with a QR code with the connection details
- Maybe the ability to display a webpage by loading it headlessly and taking a screenshot (I believe AKZ Dev’s software can do this and it seems like it opens up lots of possibilities)
- Maybe a REST API in case I want to use that rather than MQTT
This’ll all take me some time and I’m not in a rush, but I’ll post more as I work on it!